Mobile phone instructions (Click here for Mac/Windows instructions):
- Download Canon Camera Connect app.

- Complete introduction and navigate to Camera Registration tab.
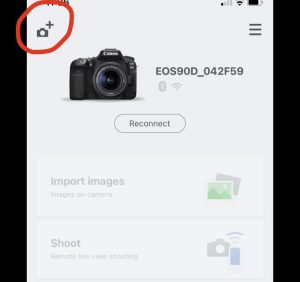
- Search for the model of your camera (90D or 80D) and select it

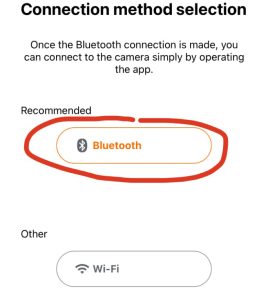
- Choose a connection method. (Bluetooth recommended). Make sure Bluetooth or Wi-Fi is turned on on your phone.
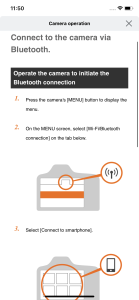
- Turn the Canon camera on and press the Menu button.
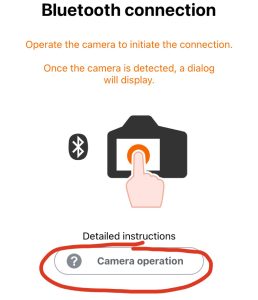
- Access the instructions for your camera model by clicking the Camera Operation button in the Canon Camera Connect app.
- Navigate to Network menu on your camera.

- Follow the instructions in the app and your camera should be connected!
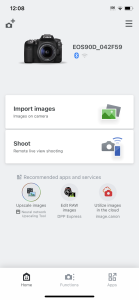
- You can now import Images and Shoot Live from your phone while connected to your camera!
Contact [email protected] for questions and support.
Mac / Windows instructions:
- Go to https://www.usa.canon.com/support (If you are using an Arts Incubator computer, click here to skip to step 7.)
- Type in your Camera Model (80D or 90D) and select it from the drop-down that appears.

- Click Software and Drivers.

- Enter your Operating System and Version.
- Find the latest version of EOS Utility.

- Download and install the software.

- Turn the Canon camera on and press the Menu button.
- Navigate to Network menu on your camera.

- Make sure Wi-Fi settings are enabled.
- Select Wi-Fi/Bluetooth Connection and then select Remote Control (EOS Utility)

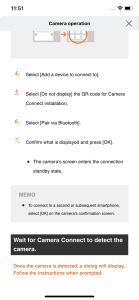
- Select “Add a device to connect to.”

- The camera’s SSID and Password will be displayed.

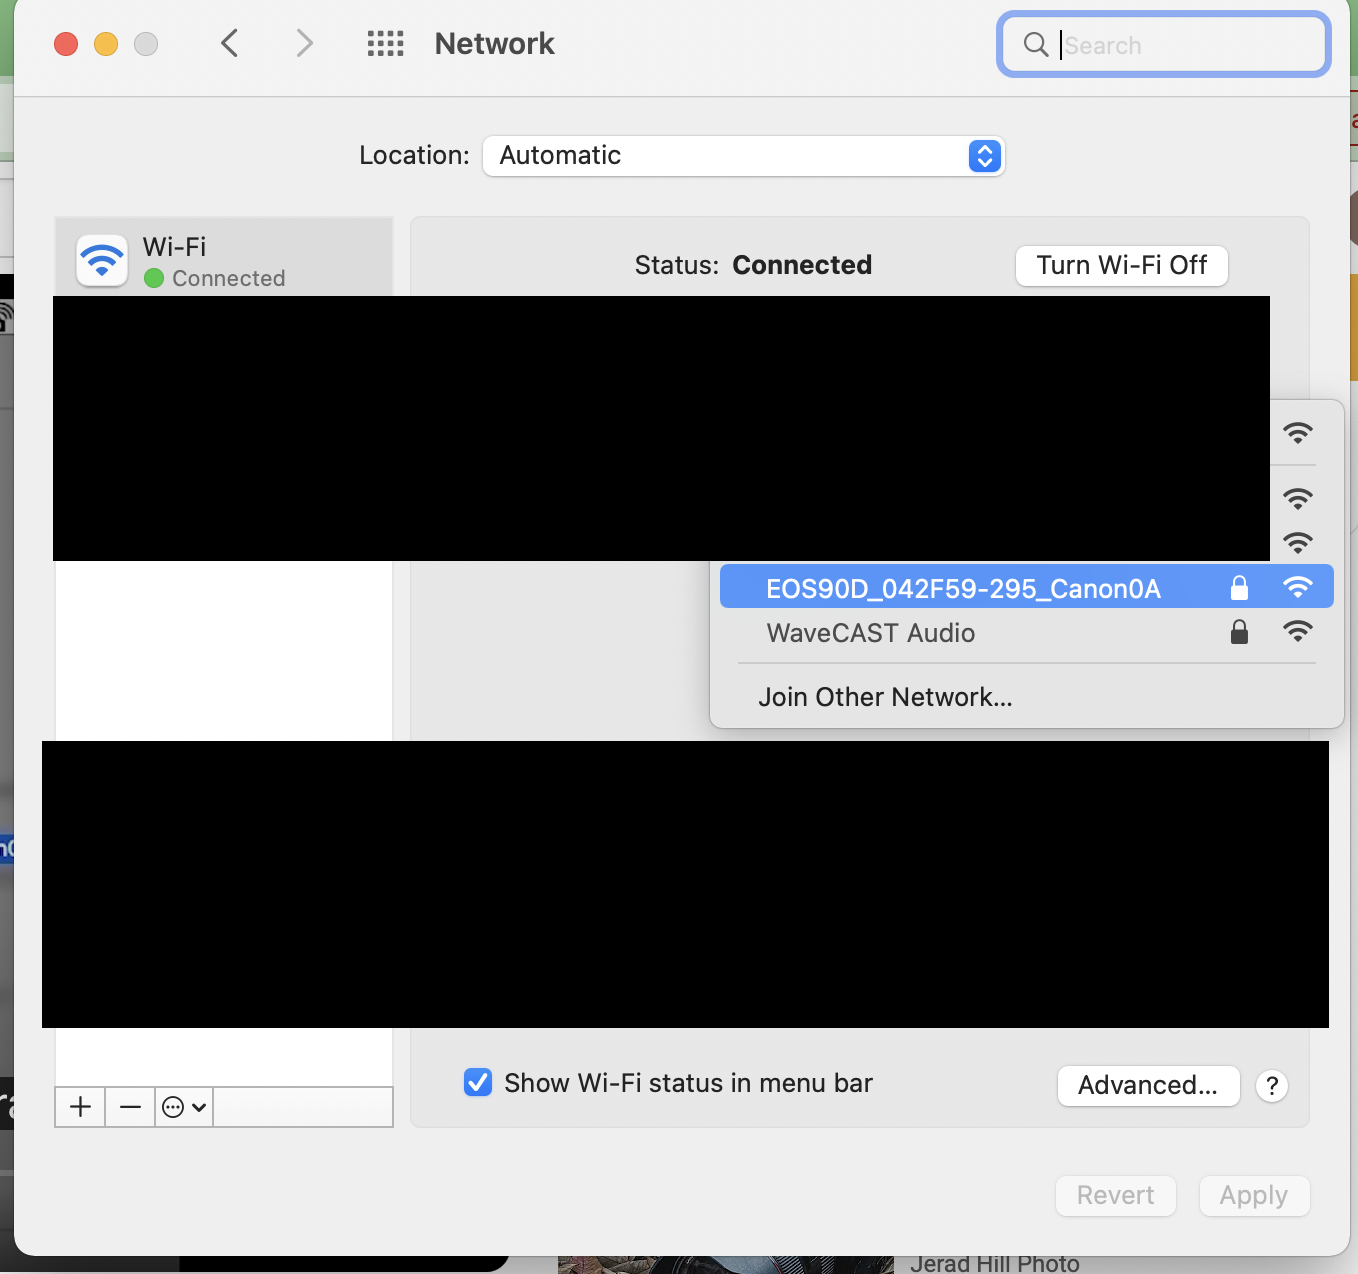
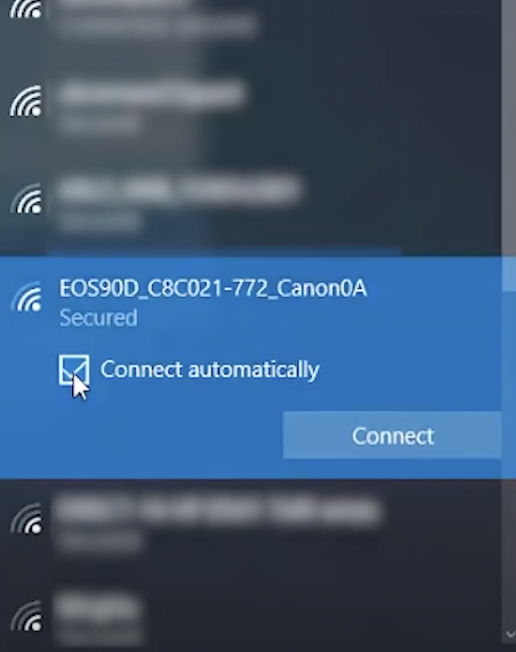
- On your computer, connect to the wireless network with that SSID.
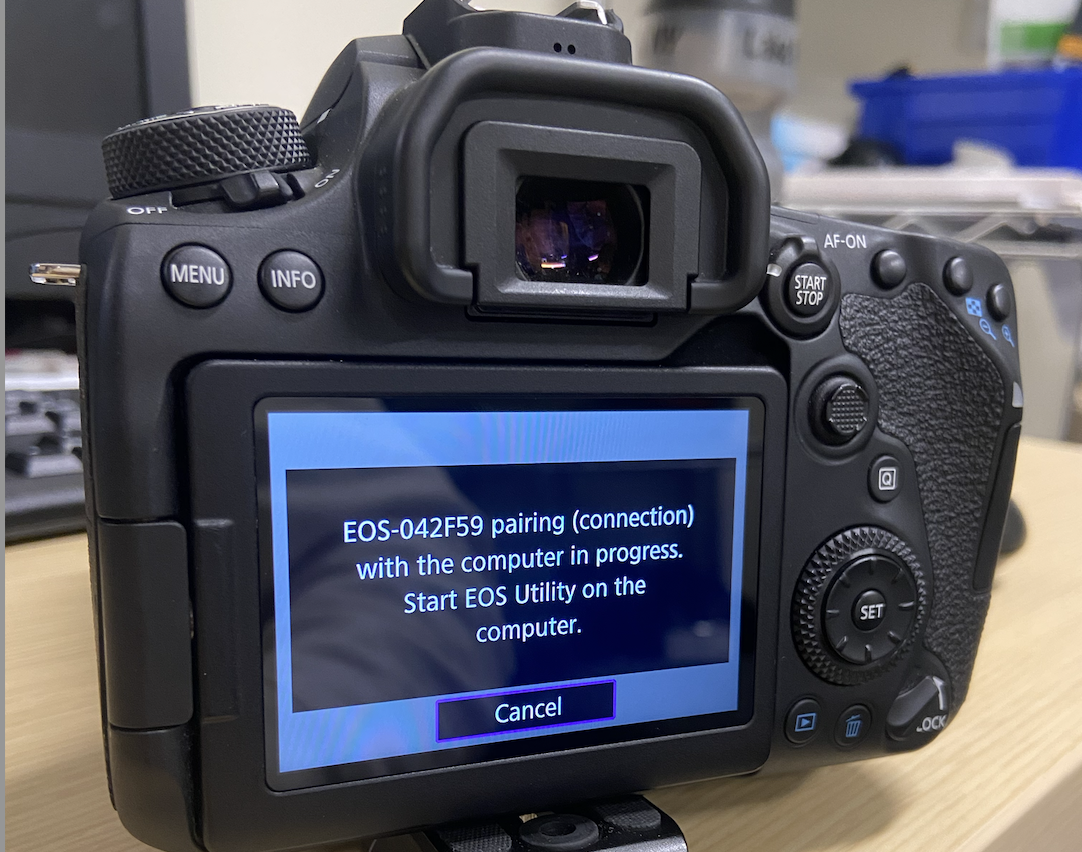
- On the camera, click Start Pairing Devices.

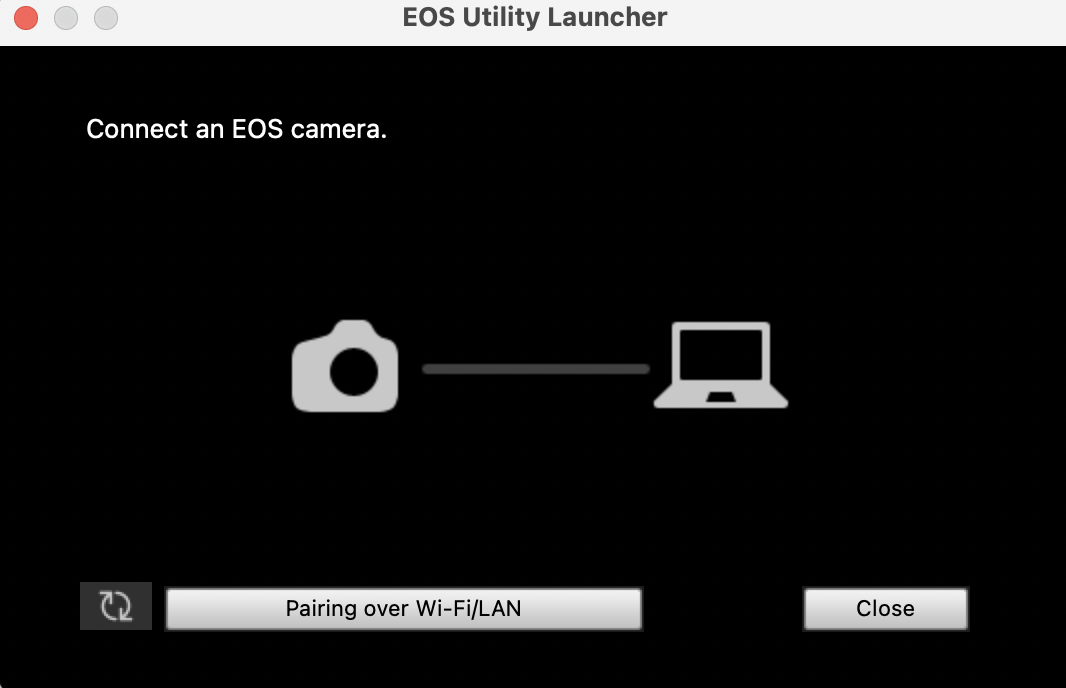
- Once paired, open EOS Utility on your computer.
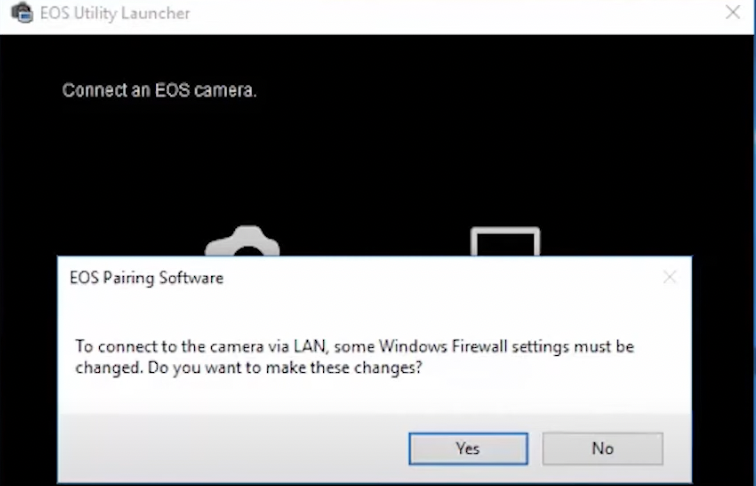
- Select Pairing over Wi-Fi/LAN. Accept Windows Firewall changes if asked.
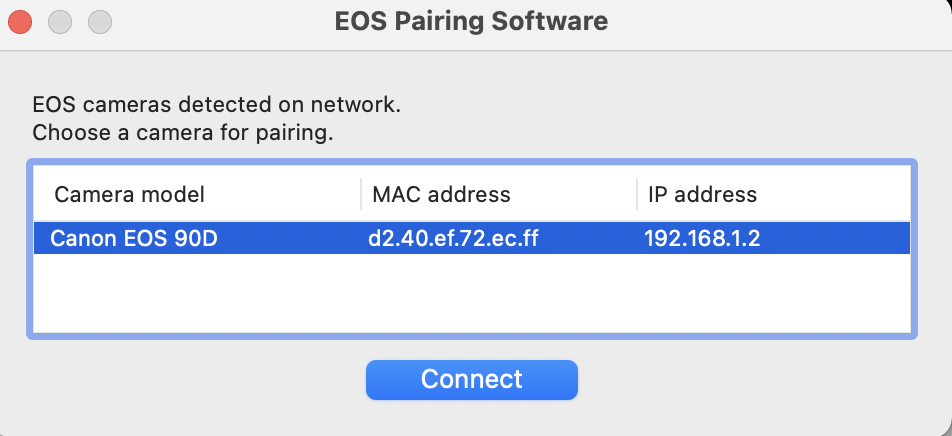
- Connect to your camera.
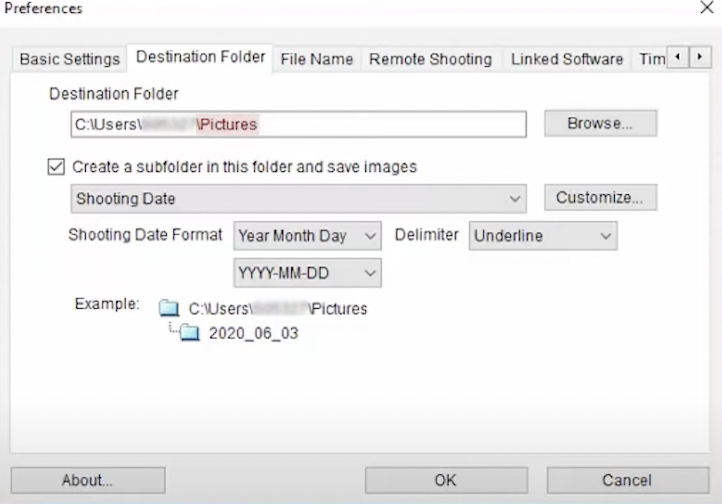
- Click Preferences to change the Download folder for your files.
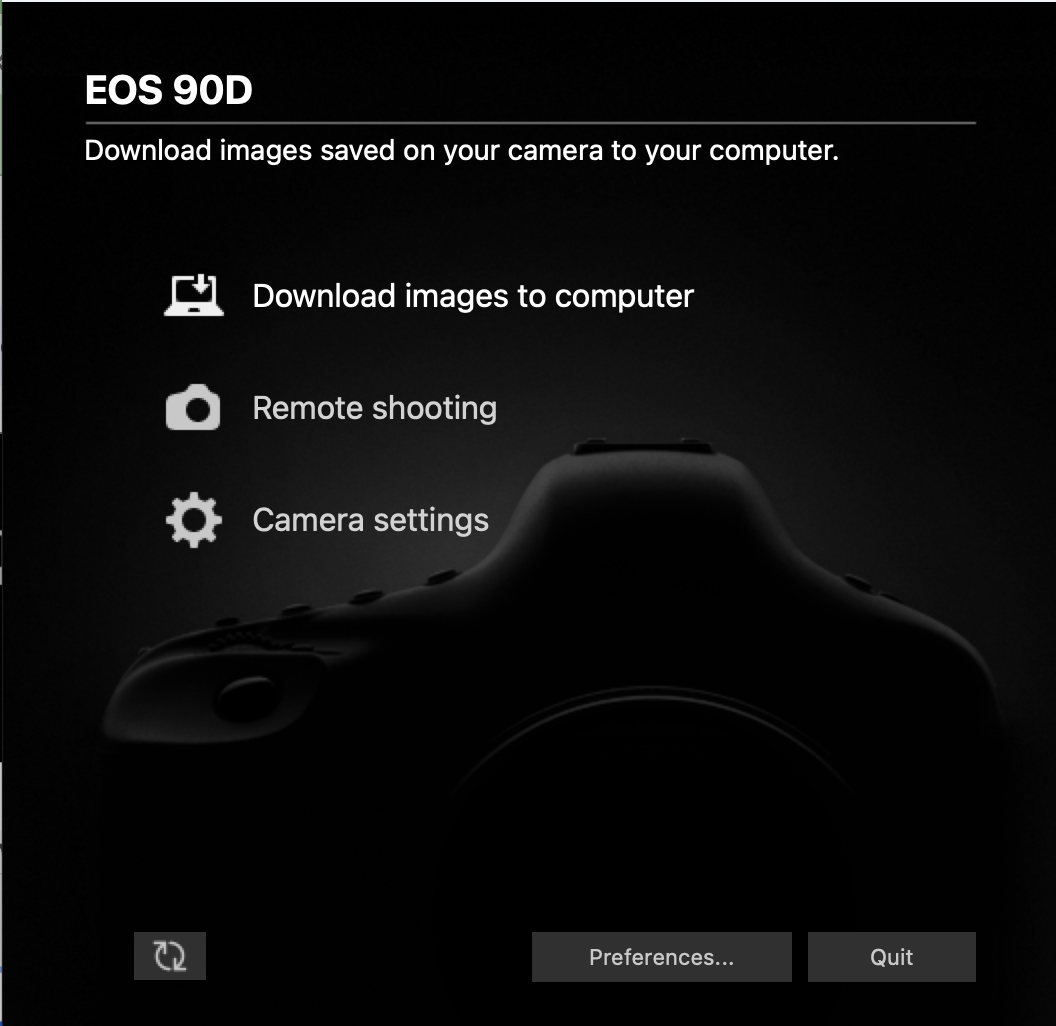
- Click Download Images To Computer, then Select and Download.
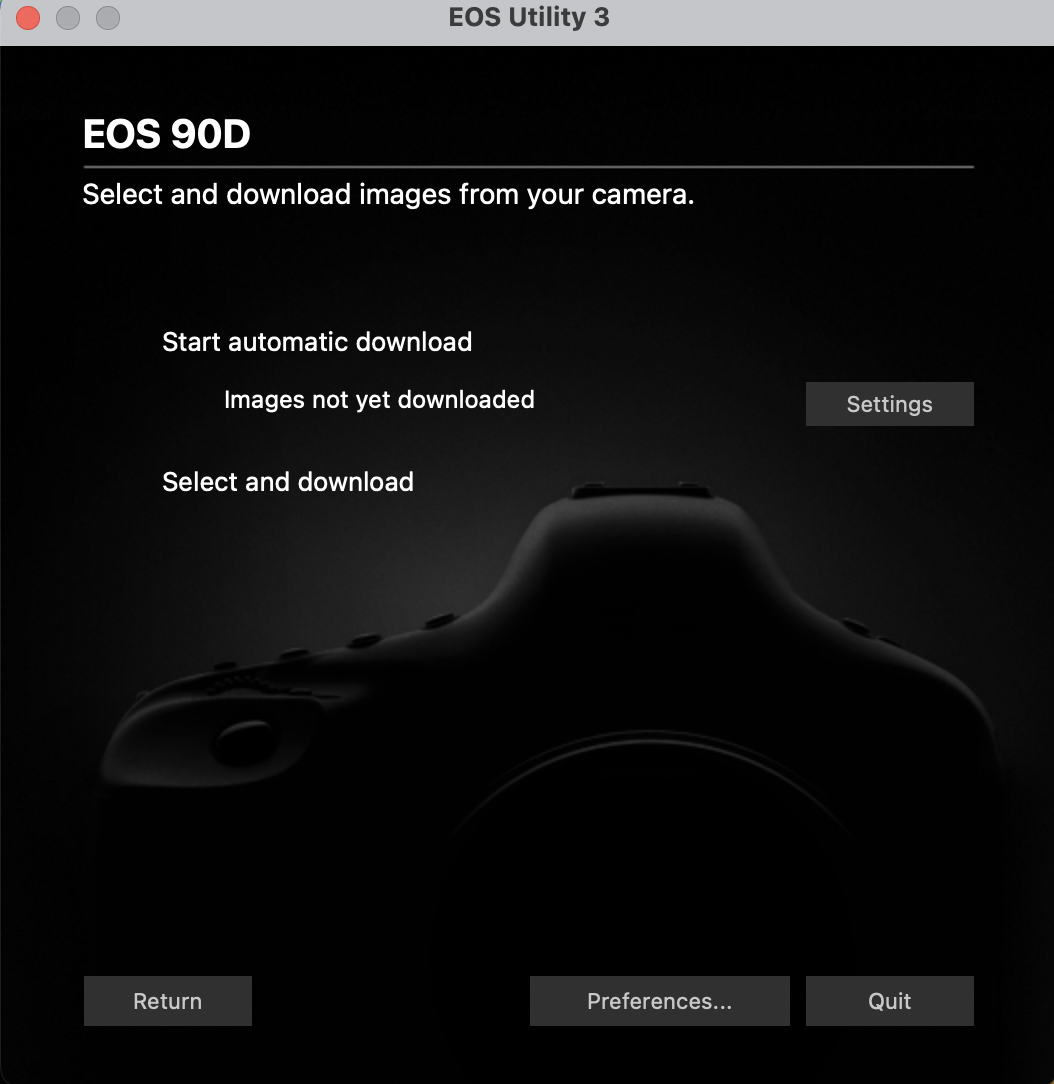
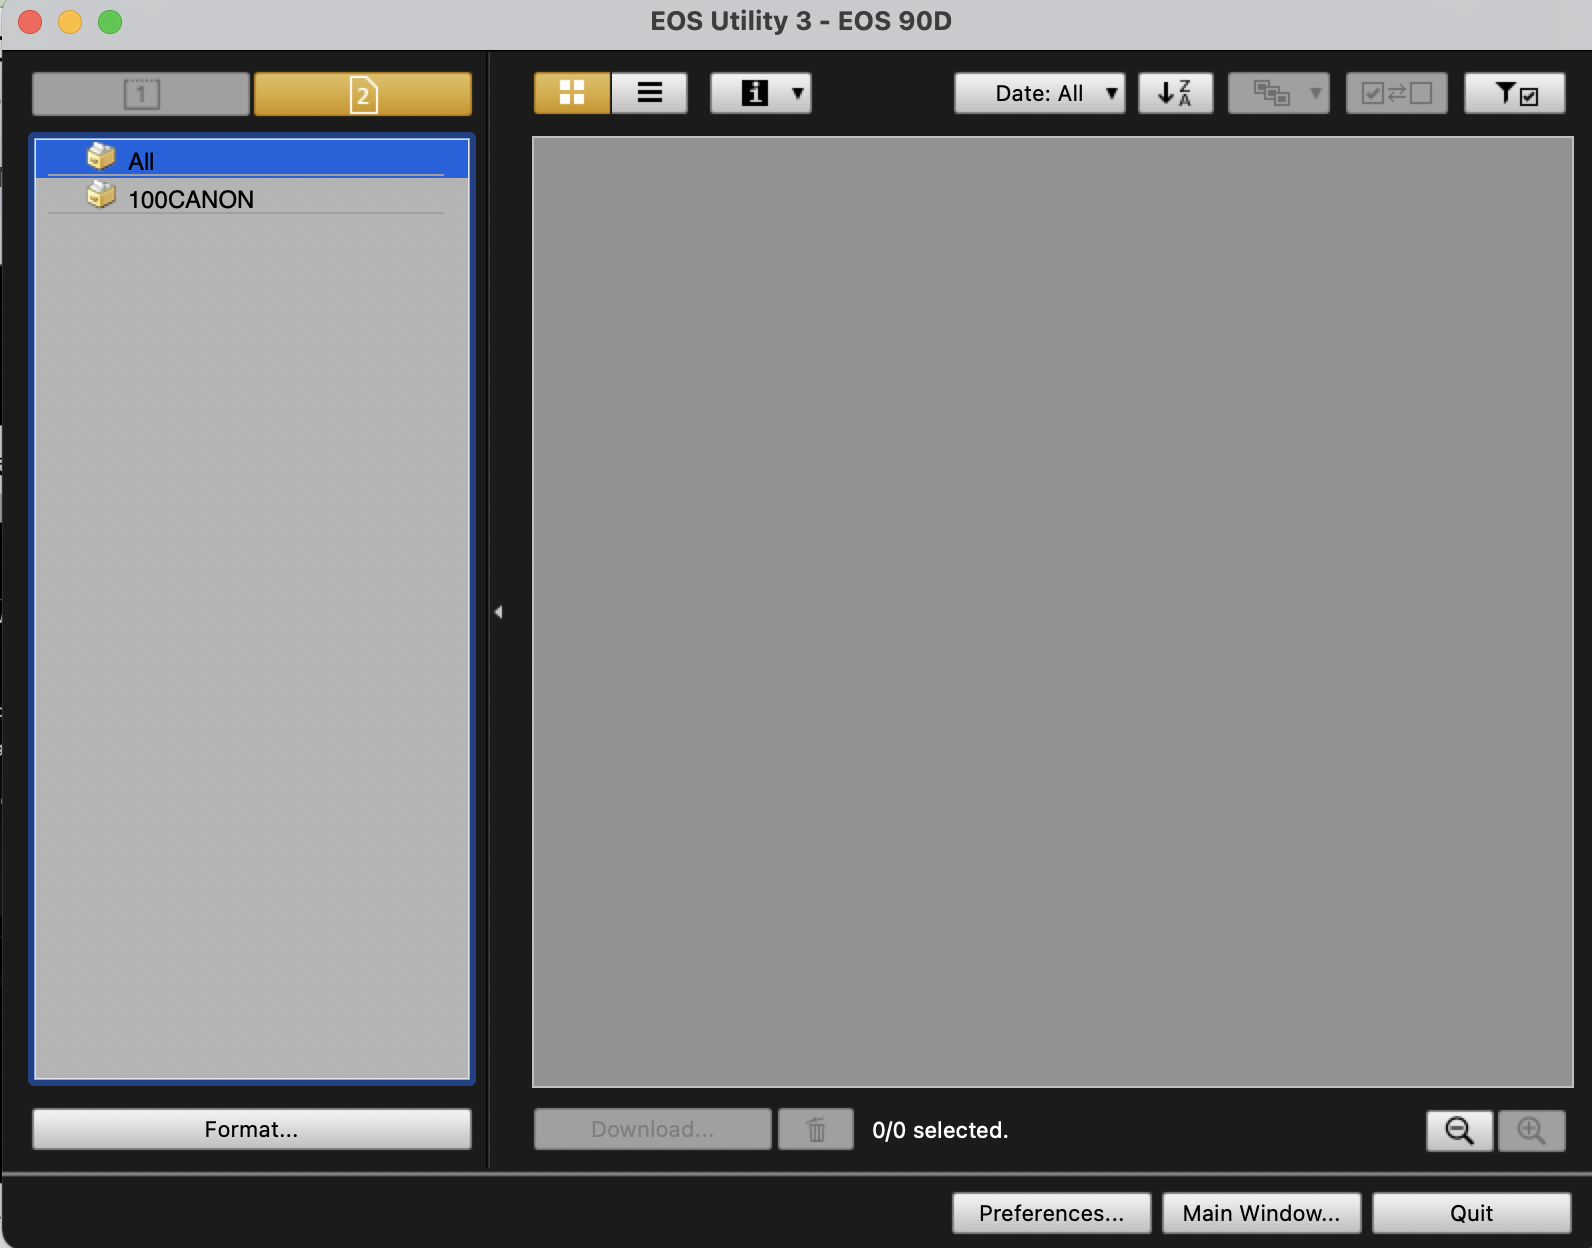
- Select the files you would like to download and click Download.
- Once you have downloaded your files, close EOS Utility.
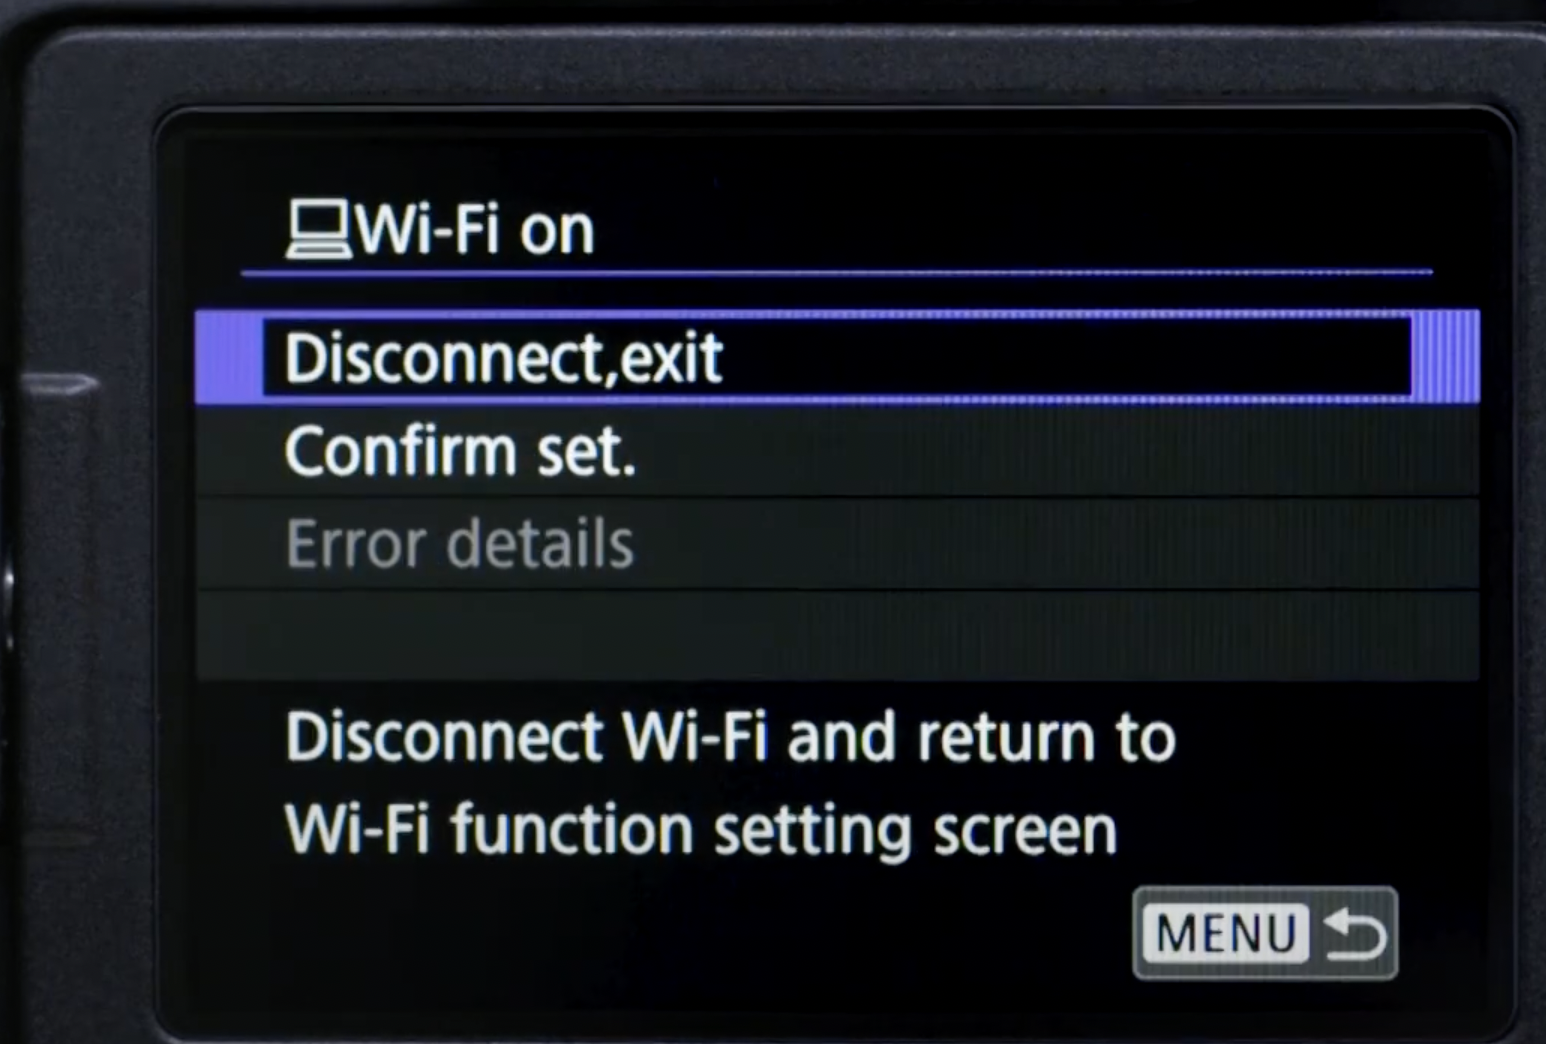
- On the camera, select “Disconnect, exit” and press OK.
Make sure to reset the Network Connection on your computer, and move your files to a permanent hard drive if you’re using a public computer. Now all your files are moved from the camera to your computer!
Contact [email protected] for questions and support.