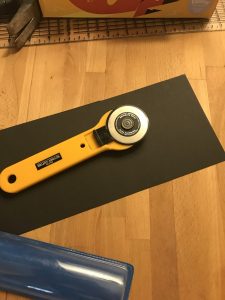
The first step in binding this book was to sew the comics together into a text block. While a relatively straightforward process, there were a few things that needed to be done. Since I decided to sew the endpapers on, rather than gluing them onto the book, I needed to cut those out before I could start sewing the book together. To do that, I marked off an area twice the size of one of the comics on a large sheet of construction paper, and then cut it to those dimensions with a rotary cutter. I made another one like that and then folded them in half, and then I placed both of them with the comics.
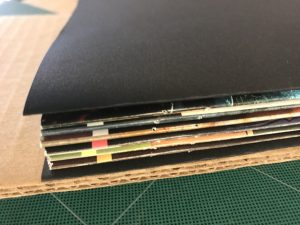
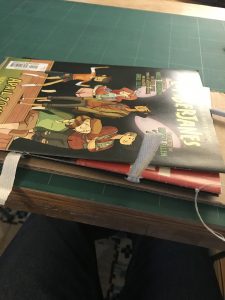
The next thing I needed to do was to remove the staples from the comics. The reason to do this is because the staples aren’t necessary if the comics are being sewn together, and they only add excess bulk to the spine of the book. To do this, I used an X-Acto knife and a small flathead screwdriver. With the staples removed and the endpapers cut, everything was ready for me to start sewing.
There are a few steps to the sewing process. The first is to punch holes in the spine edge of the comics, and then to sew them together, one at a time.
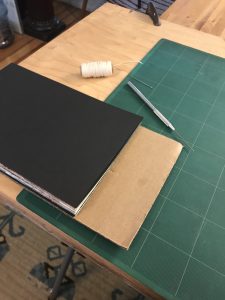
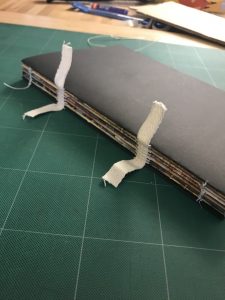
The holes in the spine need to be in the same place on each book in order for the binding to work properly. To make sure they were consistent, I used a piece of scrap paper from when I cut the endpapers to make a gauge. I marked where I wanted holes for the kettles, used to join one book to another, and around the tapes, which are fabric strips that help give the finished book structure.

I used that gauge to punch holes in the first signature, which was one of the two endpapers I had cut earlier. After that I pulled the thread through the holes from one end to the other, and then inserted the tapes into the little loops on the outside of the spine.
I continued the process by adding comics, sewing them onto the tapes, and then tying them off at each end with a kettle stitch.
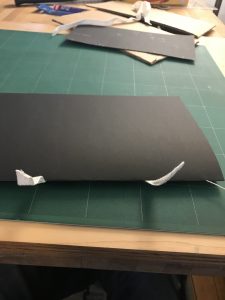
Once all the comics, and the remaining endpaper, had been added, I tied it off and the sewing of the text block was complete. This is the skeleton of the book, and the rest of the project will be built around this.
Reflecting on this a little, I want to talk about the decisions I made and also about things I learned from this experience. Firstly, I’ll say that I was following the tutorials found here (Part One and Part Two) and deviated from them in only one way. I decided to sew the endpapers onto the text block rather than gluing them because if I glued them, it would have covered up some of the cover of the first issue, and I didn’t want that. This isn’t usually necessary, but I’m binding comic books which weren’t meant to be bound together, whereas if I were to print signatures, it would be possible to design it so that the front and back had space for endpapers to be glued. The downside of stitching them is that I used a light colored thread and it’s going to show up quite plainly against the black endpapers. In the future, this will be something to consider, as is the specific layout of the front cover. The main thing I learned about this is that it’s quite difficult to get the signatures tight against each other, and there’s much more slack in the text block that I made today than I would have preferred. This may present an issue as I round the back and line the spine, but I’ll be careful about not getting too much glue in between the comics.