The next step in the bookbinding process was to treat the spine, first by rounding it, and then by lining it with cloth and paper. The reason for rounding the spine is to help redistribute some of the thickness in the spine and help the whole book sit flat. This was especially important because I used waxed thread, which doesn’t flatten as well inside the book, and keeps the spine edge much thicker than it would be otherwise. Rounding the spine also lets me make a hollow spine and skip adding a spine board, which saves time and materials, as well as helping the book keep its shape over time.
The steps for rounding the spine are pretty simple. The first step is to work a lot of glue into the spine, and then once it’s not sticky anymore but still cold, you hit the edges of the spine with a hammer to push them away from the center. The glue I used was Lineco Neutral pH PVA, which is a pretty standard glue for bookbinding, mixed with a little bit of water. It’s important to make sure that whatever glue you use for this is acid-free so that it doesn’t damage the book over time.
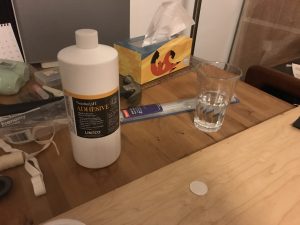
I applied the glue to the spine of the book, and rubbed across it with my fingers to wipe off excess glue and to work the glue on the outside into the spine. I then waited for it to dry a little, wanting it to not be sticky to the touch, but still feel cold, so that it could still be moved. Once I felt the glue was where I wanted it, I took the book and held it at an angle with bend in it, and then I hit the edge of the spine lightly with a hammer, rounding that side. Once I did that, I turned the book over and did the same thing to the other side.
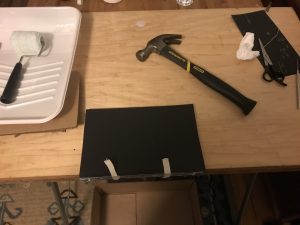
Once I was done using the hammer to round the book, I made small adjustments to the shape with my hands, and then left the book to dry. The final product wasn’t perfect, but it did have a rounded spine.
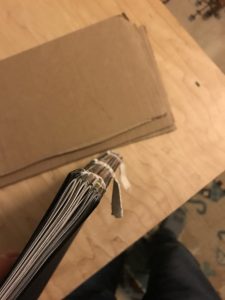
The next step, once that was completely dry, was to line with cloth and paper. The cloth helps provide structure for when the book is glued into the covers, and the paper adds strength to the spine and helps to keep the book shut so it doesn’t just flop open.
The first step in this process for me was to make the headband material, because this is also the stage at which headbands are added. These are small pieces of cloth that come up around the spine edge at the top and bottom of the book and help cover up the binding. It’s made of leftover cover cloth and twine, and in order to get leftover cover cloth, I had to cut out my cover, and that meant cutting out the boards. I’ll cover this in the blog post about making the cover, but that was all required for making this ribbon of headband material. The actual process for making the headband material was simple. I took a two inch wide strip of cover cloth, marked a line about ¾ of an inch from one side, and folded it along that line. I then applied glue to that folded portion, put a piece of twine into the fold, and folded it down over the twine.
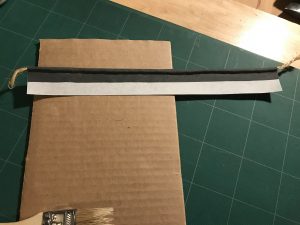
Once the headband was made, I was able to move onto actually lining the spine. This step required a little bit of setup, as I had to mix more glue and cut the cloth and paper for the lining. With everything in place, I could begin to put it together.
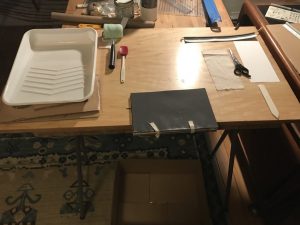
I applied more glue to the spine of the book, and then placed the cloth over the glue and pressed it down. While that was drying, I took the headband ribbon and pressed one side into the glue at the head of the book, taking a glue imprint. I used that to gauge the size it needed to be, cut it, and glued it onto the head of the book. I then did the same thing at the tail, and waited for all of that to dry.
The next step was to apply the lining paper, cut to match the height of the book. I applied even more glue to the spine, making sure to cover all of it and fill the cloth with glue as well. I then lined up the paper with the edge of the book and pressed it in, holding it until it stuck. I waited for a second until I was sure it would hold, and then pressed it down, covering the whole spine. When that was fully set, I turned the book over and folded the paper down at the edge of the spine, added more glue, and pressed it down again. This way, there’s a double layer of paper on the spine and it will add even more strength to the spine. Once that was dry, I cut the excess paper off, and the lining was finished.
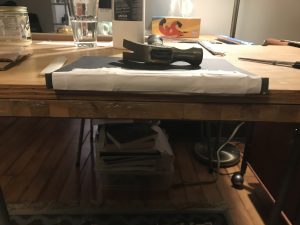
Looking back at these two steps, I feel like there were a handful of things that could have gone better. As I mentioned at the sewing stage, the whole book was a lot looser than I wanted. I think part of this was due to my own lack of experience and part of it was the waxed thread. This led to a lot of movement as I was trying to round the spine, which led to the tops and bottoms being uneven. It also allowed a lot of glue to get in between the signatures, gluing them together. While this was part of the point, I’d like to try and avoid having quite so much glue get in between, so I don’t lose quite so much real estate on the covers.
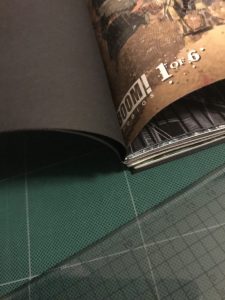
As for lining the spine, I think a lot of the problems I ran into were a result of other problems. The unevenness of the head and the tail of the book made lining the headbands up difficult. I also think that the waxed thread was bumpier than I wanted and made it hard to evenly apply the paper. I also just cut the cloth too small, and didn’t line it up properly, so it’s pretty short on one side, which may cause problems when gluing the book into place. I also wasn’t able to trim the excess paper close enough, and so the paper wraps around onto that same side, which may cause problems when casing in.
As with the last time, the tutorials I used are available here: Rounding the Spine and Headbands, Lining the Spine Part 1, and Lining the Spine Part 2.